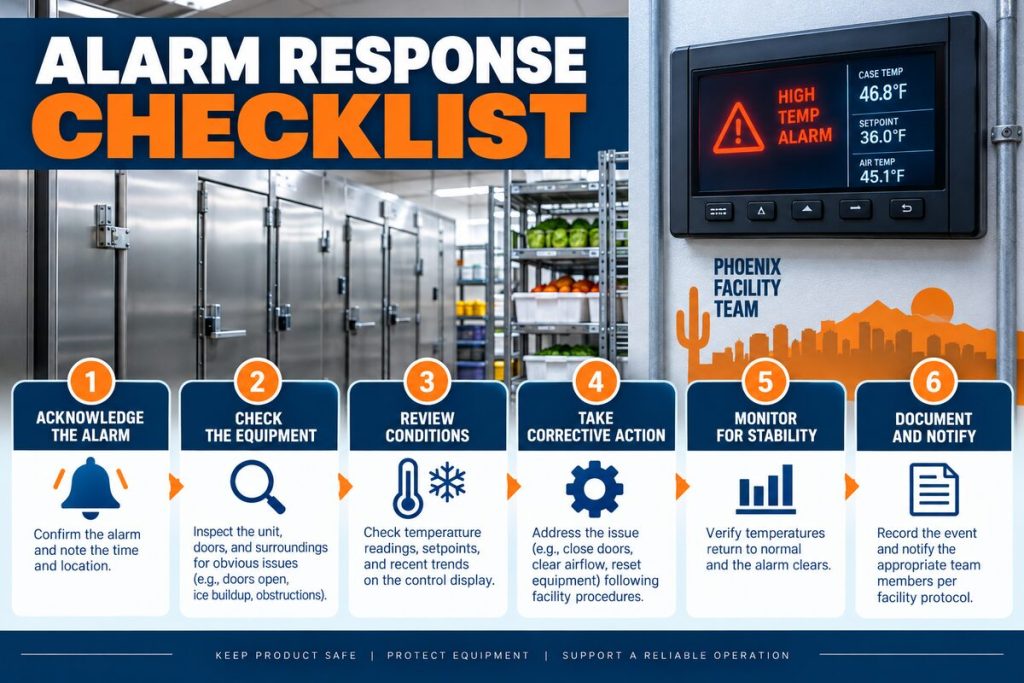


Technical overview for Phoenix commercial refrigeration operators.
A walk in cooler refrigerant leak can reduce cooling capacity, increase run time, create unusual frost patterns, and place additional stress on the compressor. The symptoms are often confused with dirty coils, airflow restrictions, control problems, or heavy door traffic, so refrigerant should never be added based on appearance alone.
Refrigerant is part of a sealed circuit. It does not normally disappear through routine operation. When a system is low, professional diagnosis should confirm the operating condition, locate the leak, determine whether repair is practical, recover refrigerant when required, complete the repair, verify the sealed system, and restore the charge using the equipment manufacturer’s procedure. Recharge alone leaves the underlying opening in place.

Walk-In Cooler Refrigerant Leak Warning Signs
| Observed pattern | What it may suggest | Why testing is required |
|---|---|---|
| Cooling capacity gradually declines | Loss of refrigerant, heat-transfer restriction, fan issue or compressor problem | Several faults cause long run time and warm temperatures |
| Frost appears only on part of the evaporator | Possible underfeeding, restriction or airflow condition | Frost location must be interpreted with pressure and temperature data |
| Oil residue near tubing or a joint | Possible leak point because oil can travel with refrigerant | Grease, cleaning products and old residue can look similar |
| Compressor runs for extended periods | Insufficient capacity or excessive load | Door infiltration and dirty coils can create the same behavior |
| Bubbles, alarms or abnormal readings | Possible charge or system-flow concern | Equipment design and operating conditions determine meaning |
1. Loss of Cooling Capacity
One of the most common complaints is that the cooler still runs but takes longer to pull down after deliveries or cannot hold its normal temperature during busy periods. As refrigerant mass is lost, the evaporator may not be supplied as designed. The result can be reduced heat absorption and longer compressor operation.
Capacity loss is not proof of a leak. A dirty condenser, weak fan, iced evaporator, blocked airflow path, inaccurate sensor, damaged door seal, or unusually high product load can create similar symptoms. Start with a complete diagnostic approach like the one described in our walk-in cooler not cooling guide.
2. Oil Traces Near Refrigerant Components
Refrigeration oil circulates in small amounts with refrigerant. When refrigerant escapes through a fitting, joint, coil, valve, or damaged tubing, oil may leave a dark or wet-looking trace. Common inspection areas include accessible connections, valve stems, vibration points, coils, and areas previously repaired.
An oil mark is only a clue. Kitchen grease, dust, condensate and past service residue can produce similar staining. Do not touch suspected refrigerant, bend tubing, tighten fittings, or apply household leak products. Photograph the area from a safe distance and leave confirmation to a qualified technician.
3. Unusual Frost or Ice Patterns
A coil that frosts only near the refrigerant inlet may be underfed, but restrictions and load conditions can also affect the pattern. A coil covered in heavy, uniform ice more often points toward airflow, defrost, infiltration, or drainage. Location and timing matter more than the simple presence of frost.
Our walk-in cooler icing guide explains how ice at the coil, door, drain, or floor can narrow the investigation. Never chip ice with a sharp tool or apply a torch. Puncturing a coil can release refrigerant and turn an existing problem into a larger repair.
4. Temperature Changes and Longer Run Time
A developing leak may first appear as slower recovery after the door is opened. Later, the system may run nearly continuously without reaching the control cutout. Employees may respond by lowering the setpoint, but that does not restore lost capacity and can erase useful operating evidence.
Record the displayed temperature, product concerns, alarm times, delivery activity, outdoor conditions, and when the change began. The pattern should be compared with the possibilities in our temperature fluctuation guide and thermostat problem guide.
Why Recharge Alone Is Not a Complete Repair
Adding refrigerant may temporarily improve performance when the system is truly undercharged, but the refrigerant can escape again if the leak remains. Repeated topping off can increase cost, complicate system history, expose the compressor to continued poor operation, and release more refrigerant to the atmosphere.
A complete response asks four questions: Is the charge actually low? Where did the refrigerant escape? Can the leak be repaired reliably? Does the system have another condition that contributed to the failure? The answer may involve vibration, corrosion, rubbing tubing, a failed joint, coil damage, service-valve leakage, or a previous repair.
Professional Repair Step 1: Confirm the Complaint and Protect Inventory
The technician begins by reviewing temperature history, alarms, prior refrigerant additions, earlier repairs, equipment identification, and recent operational changes. Staff should follow the facility’s food-safety and inventory plan if product temperature may be outside acceptable limits. Moving inventory should follow company procedures rather than an improvised decision.
The visual inspection also checks airflow, coils, fans, doors, drains and controls because a leak diagnosis made without these systems can be incomplete. Our commercial refrigeration maintenance information describes the value of a whole-system review.
Professional Repair Step 2: Measure System Operation
Qualified technicians use appropriate instruments and model-specific data to evaluate temperatures, pressures, superheat or subcooling where applicable, compressor behavior, airflow and control state. No single reading proves a leak. Conditions must be stable enough for the measurements to be meaningful, and the charging method depends on equipment design.
Electrical and sealed-system access carries shock, pressure, cold-burn and equipment-damage hazards. Operators should not remove service caps, attach gauges, open disconnects, bypass controls, or attempt to vent refrigerant.
Professional Repair Step 3: Locate the Leak
Leak detection may combine visual inspection with an electronic detector, compatible bubble solution, isolation methods, pressure testing under controlled procedures, ultraviolet dye when appropriate, or other manufacturer-approved techniques. The technician chooses methods based on refrigerant type, system construction, accessibility and suspected leak size.
A detector response must be confirmed and narrowed to a repairable point. Air movement, cleaning chemicals and contaminated surfaces can interfere with some methods. The objective is not only to find evidence of refrigerant but to identify the component or joint responsible.
Professional Repair Step 4: Recover Refrigerant and Repair the Source
When the repair requires opening the sealed circuit, refrigerant is handled with approved recovery equipment and in accordance with applicable requirements. The failed joint or component is repaired or replaced using procedures appropriate to the materials and system.
The technician should also address the condition that caused the leak when identifiable. Tubing that rubbed against metal may need proper support and clearance. A vibration-related failure may require mounting correction. A corroded coil may prompt a repair-versus-replacement discussion instead of repeated spot repairs.
Professional Repair Step 5: Verify Sealed-System Integrity
After repair, the system should be checked for integrity using an approved test method. Moisture and non-condensable gases must be controlled before the system returns to service. Evacuation procedures, tools, target criteria and standing tests depend on the equipment and repair scope.
This stage is essential because a repair that looks sound can still leak under operating pressure. Skipping verification may lead to another loss of charge and a repeat service call.
Professional Repair Step 6: Restore Charge and Confirm Performance
The technician charges the system according to the manufacturer’s specified method, refrigerant type, equipment data and current operating conditions. Charging by guesswork or sight-glass appearance alone may produce an incorrect result. System labels and service records should identify the refrigerant; different refrigerants must never be mixed.
Once operation stabilizes, the technician verifies temperature response, coil pattern, fan operation, controls, compressor behavior and relevant operating data. Related compressor concerns are discussed in our walk-in cooler compressor repair guide.
What Phoenix Businesses Should Document Before Service
- Equipment manufacturer, model and serial number when safely visible.
- Current display temperature and recent temperature log.
- When the problem began and whether it is getting worse.
- Location and appearance of frost, oil residue or water.
- New sounds, alarms, odors or changes in run time.
- Recent deliveries, heavy door use, cleaning or equipment movement.
- Dates and details of prior leak repairs or refrigerant additions.
- Inventory plan and safe access to indoor and outdoor equipment.
For broader preparation, see our walk-in cooler repair overview, commercial refrigeration service page, and emergency refrigeration service page.
Suspect a Refrigerant Leak in Your Walk-In Cooler?
Discount AC & Refrigeration of Phoenix can evaluate capacity loss, frost patterns, oil traces, controls, airflow and sealed-system operation. Our technicians focus on locating the cause and explaining the repair scope—not simply adding refrigerant without diagnosis.
Frequently Asked Questions
What are common signs of a walk in cooler refrigerant leak?
Possible signs include declining capacity, long run time, a partial frost pattern, abnormal operating data and oil residue. None is conclusive without professional testing.
Does refrigerant need routine topping off?
No. A properly sealed system should not consume refrigerant. A confirmed low charge calls for leak investigation.
Can a leak make the compressor run continuously?
Loss of capacity can extend run time, but dirty coils, door infiltration, airflow restrictions and control problems can do the same.
Does oil on a pipe prove there is a leak?
No. Oil residue is a useful clue, but it must be distinguished from grease, water and previous service residue.
Can staff use a household leak detector?
Sealed-system diagnosis should be left to qualified refrigeration technicians using compatible tools and safe procedures.
Why is adding refrigerant without repair insufficient?
The refrigerant may escape again, leaving the original failure and operating risk unresolved.
Can every refrigerant leak be repaired?
Repairability depends on the component, location, corrosion, accessibility, equipment condition and economics. Some cases favor component or equipment replacement.
Should ice be removed before the technician arrives?
Do not chip ice or apply heat. Record the pattern and follow the service company’s safe preparation instructions.
What should be included in the service record?
The record should identify findings, leak location when confirmed, repair performed, refrigerant handling, verification results and final operating checks.
Who should repair a commercial refrigeration leak?
Use a qualified commercial refrigeration professional with the training, tools and credentials required for the equipment and refrigerant involved.
Repair the Cause, Then Restore the Charge
A walk in cooler refrigerant leak requires diagnosis beyond a recharge. Capacity loss, oil traces and frost patterns guide the investigation, but measurements and leak-detection procedures confirm the cause. Phoenix businesses can review more guidance in our commercial refrigeration blog or contact Discount AC & Refrigeration of Phoenix for service.