
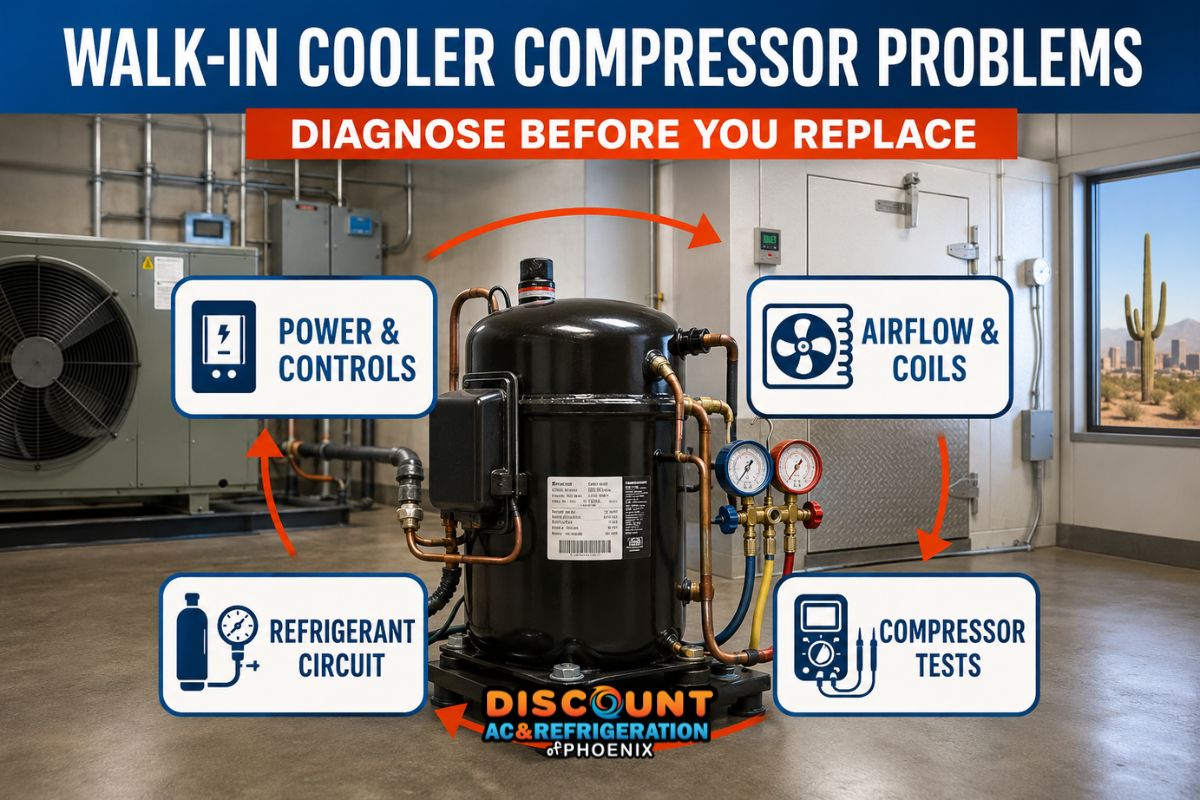
Walk in cooler compressor repair should begin with a complete system diagnosis—not an automatic recommendation to replace the compressor. A cooler that runs constantly, struggles to reach temperature, trips a breaker, hums without starting, or shuts down unexpectedly may have a compressor problem. However, those same symptoms can also result from failed electrical components, restricted airflow, dirty condenser coils, refrigerant loss, control problems, or excessive heat around the condensing unit.
Is Your Walk-In Cooler Losing Temperature?
Protect your inventory and avoid replacing parts before the root cause is confirmed. Discount AC & Refrigeration of Phoenix provides professional walk-in cooler diagnostics and commercial refrigeration service throughout the Phoenix metro area.
Call (602) 889-1367The compressor is responsible for moving refrigerant through the sealed system and creating the pressure difference that allows the cooler to remove heat. Because it plays such a central role, many cooling failures are immediately blamed on it. Accurate diagnosis must evaluate the entire refrigeration system before determining that the compressor itself has failed.
This guide explains symptoms commonly associated with compressor trouble, the professional diagnostic sequence, factors used to compare repair and replacement, and why sealed-system work should only be performed by qualified commercial refrigeration technicians.
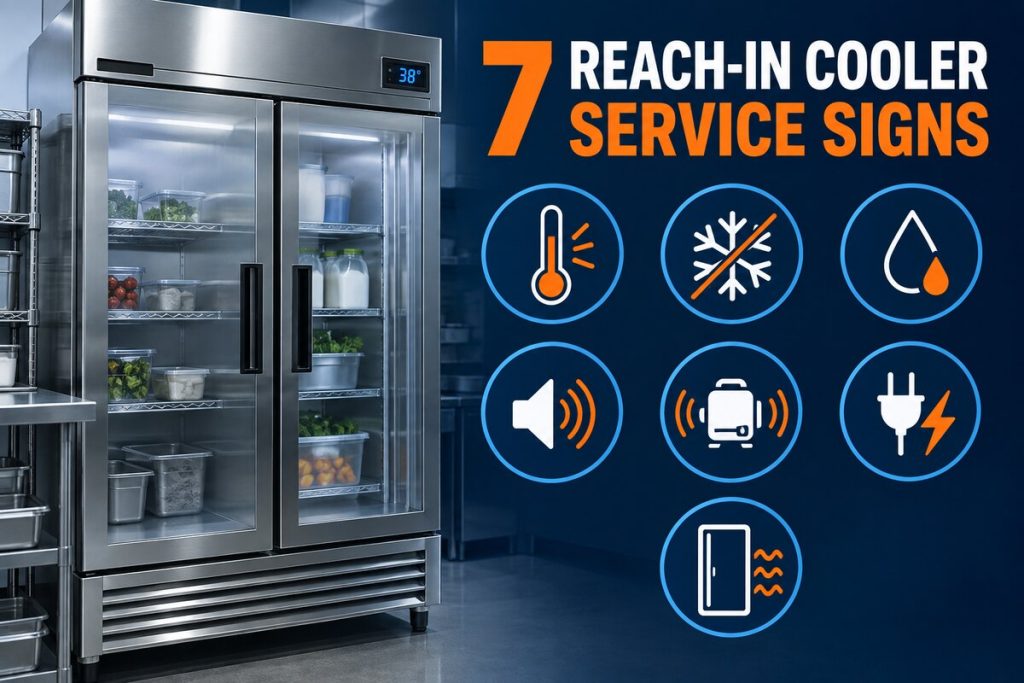
Symptoms That May Look Like Compressor Failure
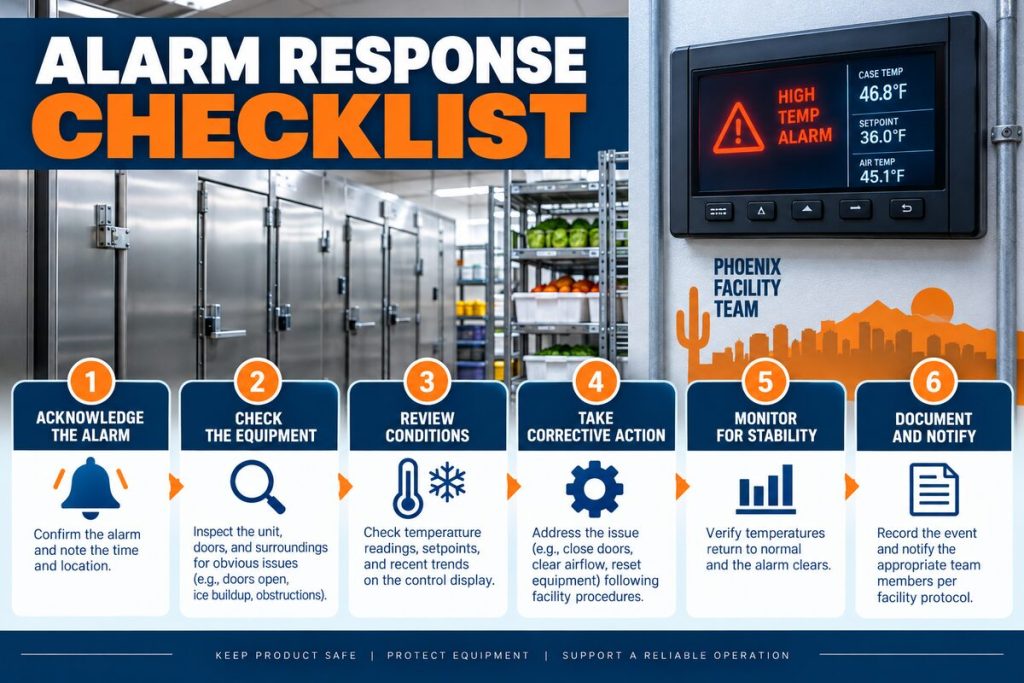
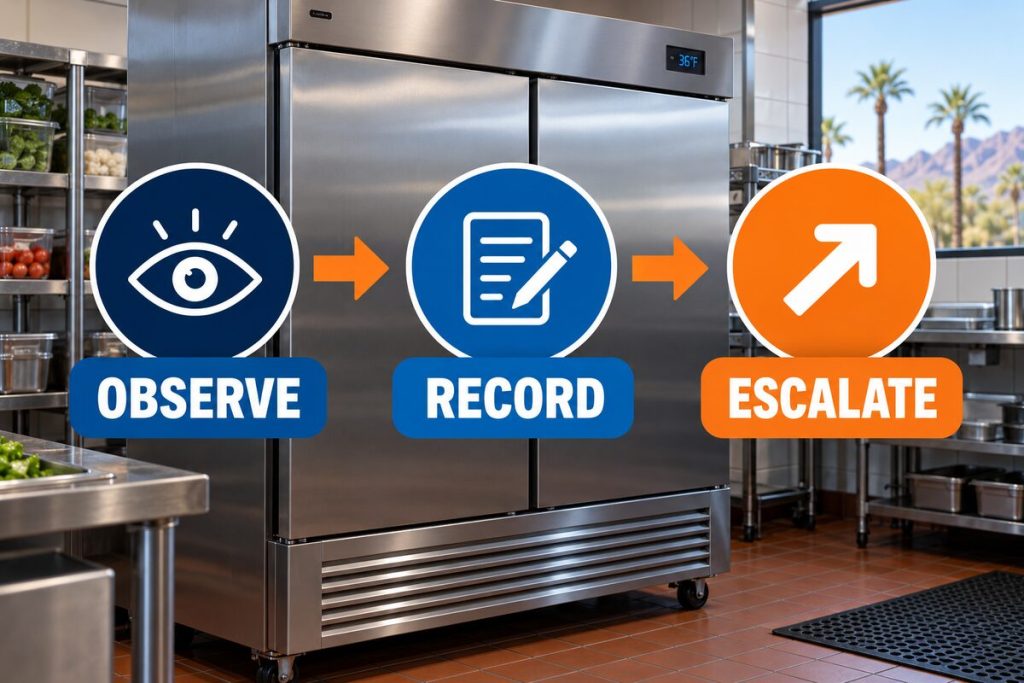
A compressor problem can produce serious cooling symptoms, but observing a symptom is not the same as identifying its cause. Managers and employees can document what the equipment is doing, protect temperature-sensitive inventory, and contact a technician without opening electrical panels or disturbing the refrigerant circuit.
The walk-in cooler is not reaching its set temperature
A cooler that remains warmer than expected may have a worn or mechanically damaged compressor. It may also have a dirty condenser coil, failed condenser fan, low refrigerant charge, iced evaporator, damaged door gasket, control problem, or excessive product load. Our guide to a walk-in cooler not cooling explains the safe observations a business can make before service arrives.
The compressor runs for long periods
Long operating cycles can occur when the compressor has lost pumping capacity. They can also indicate that the system is absorbing more heat than it can reject. Frequent door traffic, warm product, dirty coils, poor ventilation, damaged gaskets, and high Phoenix ambient temperatures can all increase runtime.
If the box temperature moves up and down instead of remaining stable, review the causes of a walk-in cooler temperature fluctuating before assuming the compressor is responsible.
The condensing unit hums but does not start
A humming sound may indicate that the compressor is trying unsuccessfully to start. Possible causes include a defective capacitor, relay, contactor, low voltage, locked rotor, damaged wiring, an open safety control, or internal compressor damage. Electrical measurements are needed to separate a failed starting component from a compressor that is mechanically locked.
The breaker or overload repeatedly trips
Repeated trips can occur when a compressor draws excessive current, has shorted windings, overheats, or struggles against abnormal system pressures. Breaker trips can also result from a loose connection, damaged contactor, inadequate voltage, grounded wiring, failed fan motor, or another electrical fault.
Do not repeatedly reset the breaker. Doing so can expose equipment to additional damage and may create an electrical or fire hazard.
The compressor is unusually hot or noisy
High discharge temperature, inadequate cooling around the compressor, low refrigerant flow, lubrication problems, high compression ratios, and electrical faults can all contribute to overheating. Knocking, rattling, clicking, or harsh startup noises may indicate internal damage, but a technician must rule out loose mounting hardware, tubing vibration, fan problems, and contactor chatter.
Oil residue appears around refrigeration lines
Oil staining near a fitting, coil, valve, or compressor connection may indicate a refrigerant leak because refrigerant circulates with compressor oil. A suspected leak should be evaluated through professional refrigerant leak detection. Adding refrigerant without locating and addressing the leak does not correct the underlying problem.
Quick Symptom Comparison
| Observed symptom | Possible compressor-related cause | Other conditions to test | Recommended response |
|---|---|---|---|
| Cooler remains warm | Loss of pumping capacity | Airflow, refrigerant charge, controls, door seal and load | Record temperature and request diagnosis |
| Humming without starting | Locked compressor | Capacitor, relay, contactor and supply voltage | Turn the equipment off and call for service |
| Overload or breaker trips | High current, grounded or shorted windings | Wiring, voltage, controls, fans and system pressures | Do not continue resetting the breaker |
| Compressor overheats | Internal wear or lubrication problem | Dirty condenser, failed fan, low charge and restrictions | Stop operation if directed and schedule service |
| Constant operation | Reduced compression efficiency | Heat load, airflow, coil condition, gaskets and controls | Arrange performance testing before replacement |
Professional Diagnostic Sequence Before Compressor Replacement
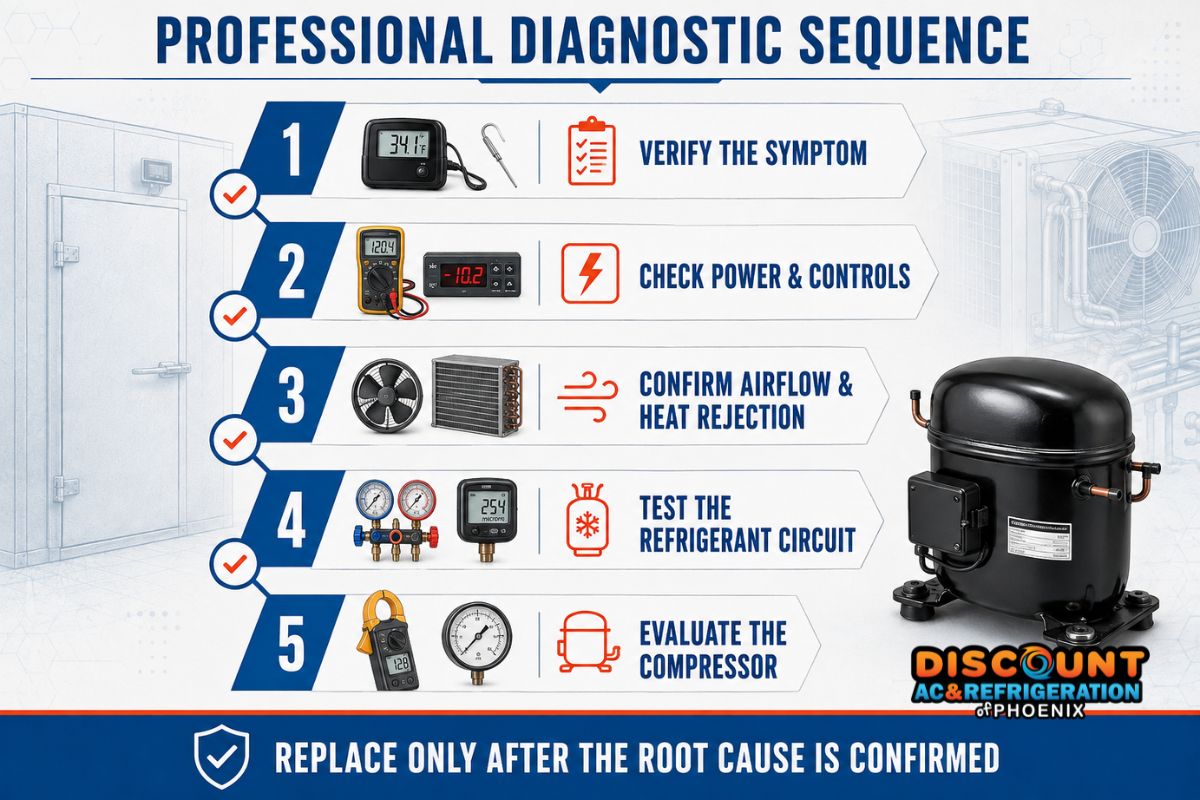
A dependable walk in cooler compressor repair diagnosis follows a sequence. Testing only the compressor can miss the condition that damaged it or the less expensive component that is preventing it from operating.
1. Verify the complaint and operating conditions
The technician first confirms the box temperature, thermostat or controller setting, recent temperature history, product load, door activity, and the specific behavior reported by employees. The technician also determines whether the problem is constant or intermittent.
This prevents normal operational factors—such as a large delivery of warm product—from being mistaken for equipment failure. Temperature readings should also be compared with the recommended walk-in cooler temperature range and the needs of the stored products.
2. Inspect power, controls and starting components
The electrical sequence must allow the compressor to start and remain energized safely. A technician may evaluate supply voltage, voltage drop, terminals, wiring, contactors, capacitors, relays, pressure controls, overloads, thermostat signals, and control-board outputs.
A failed start component may imitate a locked compressor. Conversely, replacing a capacitor without checking compressor amperage and winding condition may leave a serious compressor fault unresolved.
3. Confirm condenser airflow and heat rejection
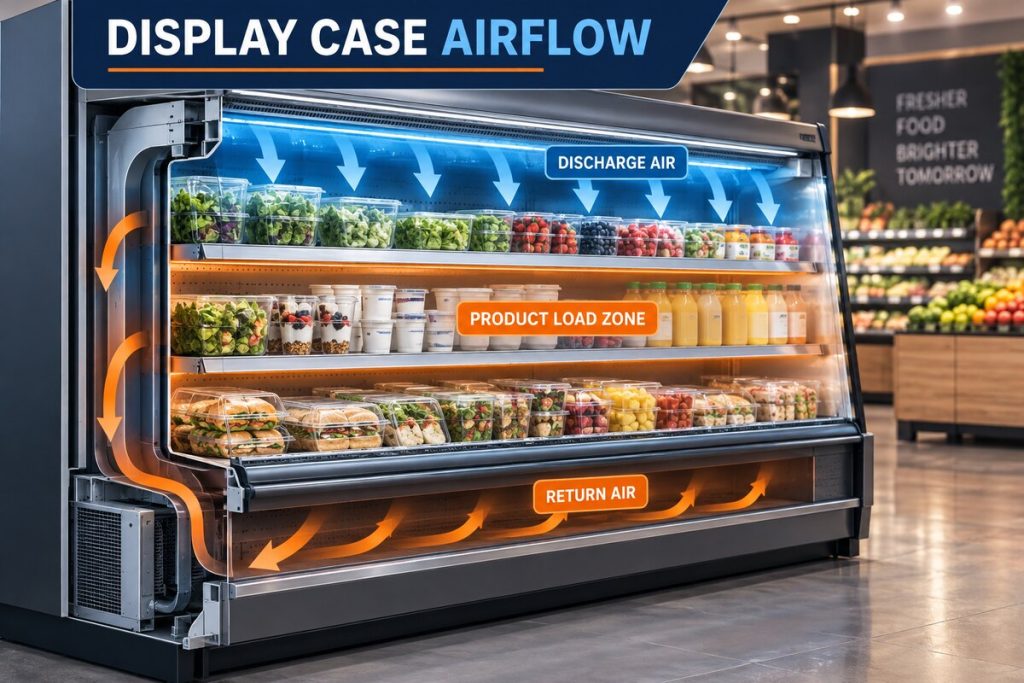
The condenser must release the heat absorbed inside the walk-in plus the heat created during compression. Dust, grease, blocked ventilation, damaged fan blades, failed fan motors, and high ambient temperature can cause head pressure and compressor temperature to rise.
This step is especially important in Arizona. A dirty outdoor coil that might produce a gradual efficiency loss in a mild climate can place substantial strain on commercial refrigeration equipment during Phoenix summer conditions. Learn why airflow matters in our guide to walk-in cooler condenser coil cleaning.
4. Inspect evaporator airflow and refrigeration load
The technician checks whether air can move across the evaporator and circulate throughout the box. Ice accumulation, blocked product placement, dirty coils, failed fans, drain problems, or defrost faults can reduce heat transfer and create symptoms that resemble inadequate compressor capacity.
The location of ice can provide useful evidence. Our guide to a walk-in cooler icing up explains how frost patterns may relate to air infiltration, airflow, drains, and defrost operation.
5. Evaluate the refrigerant circuit
Qualified technicians use temperature and pressure measurements, manufacturer data, and system operating conditions to evaluate refrigerant flow. The goal is not merely to obtain a single pressure reading. The technician must consider superheat, subcooling, line temperatures, ambient conditions, load, refrigerant type, and the design of the equipment.
Low refrigerant charge may reduce cooling and compressor protection, while an overcharge, restriction, airflow problem, or non-condensable contamination can create damaging operating pressures. A correct diagnosis identifies why readings are abnormal.
6. Test the compressor itself
After external causes have been evaluated, the technician can assess compressor amperage, winding resistance, insulation to ground, starting behavior, temperature, pressure differential, and pumping performance. These tests help distinguish electrical failure, mechanical lockup, internal wear, and reduced compression capacity.
If failure is confirmed, the technician should also investigate the cause. A replacement compressor installed without correcting poor airflow, refrigerant contamination, inadequate oil return, abnormal voltage, or a system restriction may experience the same failure.
Can a Walk-In Cooler Compressor Be Repaired?
Commercial refrigeration compressors are generally sealed components. External problems associated with the compressor circuit—such as a contactor, capacitor, relay, terminal connection, control, or wiring fault—may be repairable without replacing the compressor.
Internal motor windings, valves, bearings, and pumping components are enclosed inside the compressor shell. When internal electrical or mechanical failure is confirmed, field repair of those internal components is usually not practical. The appropriate solution is normally professional compressor replacement.
The distinction is important: repairing a failed component in the compressor’s electrical or control circuit is not the same as repairing internal compressor damage.
Repair Versus Replacement: What Should Be Considered?
The correct recommendation depends on more than the price of one component. A commercial refrigeration technician should evaluate how the proposed work affects reliability, compatibility, and the remaining service life of the system.
| Decision factor | Repair may be appropriate when | Replacement may be appropriate when |
|---|---|---|
| Failure location | The fault is an external control, connection or starting component | Internal electrical or mechanical failure is confirmed |
| System condition | Coils, fans, controls and piping remain serviceable | Multiple major components are deteriorated |
| Refrigerant | The refrigerant and compatible components remain supportable | Compatibility or availability makes continued operation impractical |
| Failure history | The unit has been dependable and the root cause is correctable | Recurring failures indicate broader system deterioration |
| Capacity and application | The equipment is correctly sized for the present load | The system is consistently overloaded or incorrectly matched |
| Business risk | A focused repair can restore dependable operation | Continued repairs create unacceptable inventory and downtime risk |
What Professional Compressor Replacement Involves
Replacing a compressor is sealed-system work. It requires more than disconnecting the old component and installing a new one. A professional process may include:
- Confirming compressor failure and documenting the measurements that support the diagnosis.
- Identifying the root cause, including airflow, electrical, contamination, refrigerant, lubrication, sizing, or control problems.
- Recovering refrigerant properly using approved equipment and applicable handling procedures.
- Selecting a compatible compressor based on refrigerant, voltage, capacity, application, and manufacturer requirements.
- Protecting the sealed system from moisture, oxidation, debris, and contamination during installation.
- Replacing appropriate supporting components, such as the filter-drier, when required by the installation procedure.
- Pressure testing and evacuating the system to confirm integrity and remove air and moisture.
- Charging and commissioning the equipment according to the system design and actual operating conditions.
- Verifying final performance, including temperatures, pressures, amperage, airflow, controls, and box pull-down.
These procedures require refrigeration tools, electrical testing equipment, proper refrigerant-handling practices, and application-specific knowledge. They are not suitable for trial-and-error troubleshooting.
Why Sealed-System Work Is Not a DIY Repair
Opening a refrigeration circuit can release refrigerant, introduce moisture, contaminate the system, damage components, and expose the person performing the work to pressure, electrical, and temperature hazards. Refrigerant handling is also subject to environmental requirements.
Business owners and employees should not cut tubing, attach gauges, add refrigerant, bypass safety controls, open electrical compartments, or attempt to force a compressor to start. Safe actions include recording temperatures, noting alarms and sounds, limiting unnecessary door openings, checking whether visible exterior airflow is obstructed, and moving inventory according to the business’s food-safety or product-protection plan.
If temperatures are rising and inventory is at risk, request professional emergency refrigeration service.
How to Reduce the Risk of Another Compressor Failure
A replacement compressor should not be treated as an isolated component. Its reliability depends on the operating conditions of the entire system.
- Keep condenser coils clean and maintain unobstructed ventilation.
- Have condenser and evaporator fan operation checked regularly.
- Repair refrigerant leaks instead of repeatedly adding refrigerant.
- Maintain door gaskets and closing hardware to reduce warm-air infiltration.
- Review temperature records for gradual changes in runtime or performance.
- Keep product from blocking evaporator airflow.
- Investigate unusual noise, oil residue, breaker trips, and repeated alarms promptly.
- Schedule professional walk-in cooler maintenance in Phoenix based on usage and environmental exposure.
Businesses can also review the full walk-in cooler and freezer service options available from Discount AC & Refrigeration of Phoenix.
Walk-In Cooler Compressor Repair in Phoenix
Phoenix heat and airborne dust place additional demands on commercial refrigeration equipment. Condensing units installed outdoors, on rooftops, near kitchen exhaust, or in restricted mechanical spaces may experience especially difficult heat-rejection conditions.
Discount AC & Refrigeration of Phoenix provides diagnostic, repair, maintenance, leak-detection, and compressor-replacement services for restaurants, grocery stores, commercial kitchens, food distributors, and other Arizona businesses. Our family-owned company brings more than 20 years of HVAC and refrigeration experience to commercial service throughout the Valley.
Diagnose the System Before Replacing the Compressor
A warm walk-in cooler does not automatically mean the compressor has failed. Let our technicians test the electrical circuit, airflow, controls, refrigerant system, and compressor performance before recommending the appropriate repair.
Discount AC & Refrigeration of Phoenix
Serving businesses throughout Phoenix Metro and surrounding Arizona communities
Arizona ROC #361623
Frequently Asked Questions About Walk-In Cooler Compressor Repair
How do I know if my walk-in cooler compressor is bad?
Possible signs include failure to start, repeated overload trips, excessive current, overheating, unusual mechanical noise, or inadequate pressure difference while running. These symptoms require professional testing because failed controls, starting components, airflow problems, refrigerant loss, and system restrictions can produce similar behavior.
Does a warm walk-in cooler always mean the compressor has failed?
No. A warm box may result from dirty coils, failed fans, refrigerant loss, an iced evaporator, damaged door gaskets, control problems, electrical faults, excessive product load, or insufficient ventilation. The full system should be evaluated before condemning the compressor.
Can a compressor that hums but does not start be repaired?
It depends on the cause. A defective capacitor, relay, contactor, loose connection, or voltage problem may prevent a functional compressor from starting. If testing confirms a locked rotor or internal mechanical damage, compressor replacement may be necessary.
Why does my walk-in cooler compressor keep overheating?
Potential causes include a dirty condenser, failed condenser fan, restricted ventilation, abnormal refrigerant charge, a system restriction, excessive compression ratio, low voltage, high current, inadequate refrigerant cooling, or internal wear. Phoenix ambient heat can intensify these conditions.
Should I keep resetting the breaker when the compressor trips it?
No. Repeatedly resetting a tripped breaker can expose the equipment to further electrical damage and may create a safety hazard. Leave the equipment off and arrange professional electrical and refrigeration diagnostics.
Can low refrigerant damage a walk-in cooler compressor?
Low refrigerant conditions can reduce capacity and may interfere with compressor cooling or oil return, depending on the system. The leak and the system’s operating condition must be diagnosed. Simply adding refrigerant without locating the cause is not a complete repair.
What should be checked before replacing a walk-in cooler compressor?
The diagnostic process should evaluate the operating complaint, temperature history, electrical supply, controls, starting components, condenser and evaporator airflow, refrigerant circuit, system pressures and temperatures, compressor windings, amperage, and pumping performance.
Why is identifying the original failure cause important?
A new compressor can fail again if the original problem—such as poor condenser airflow, contamination, incorrect charging, voltage problems, inadequate oil return, or a refrigerant restriction—is not corrected during the replacement process.
Is walk-in cooler compressor replacement sealed-system work?
Yes. Replacement requires refrigerant recovery, system protection, compatible component selection, brazing or approved connections, pressure testing, evacuation, charging, and performance verification. This work requires qualified refrigeration personnel and specialized equipment.
Who provides walk-in cooler compressor repair in Phoenix?
Discount AC & Refrigeration of Phoenix diagnoses and services walk-in cooler compressors and commercial refrigeration systems throughout the Phoenix metro area. Call (602) 889-1367 to request service.